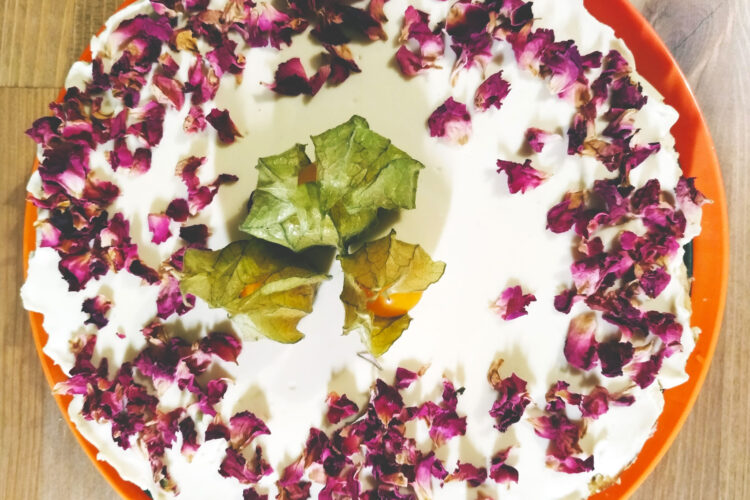
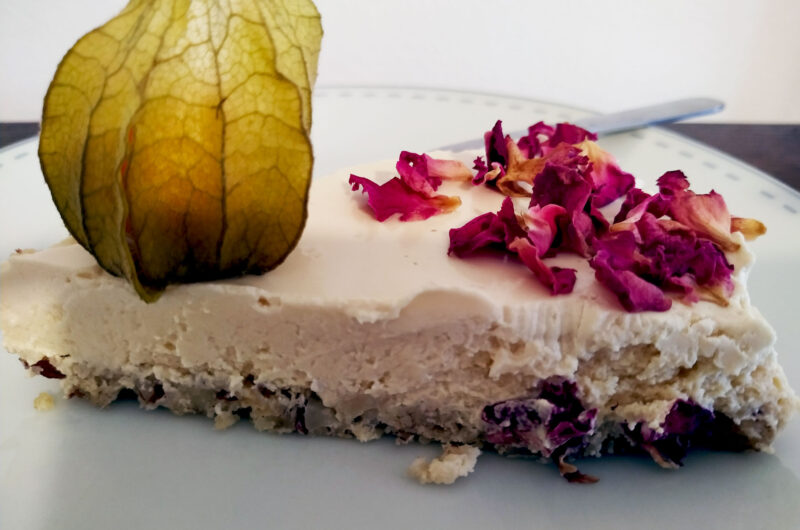
One of my all-time favourite celebratory cakes, I have been making this Manhattan cheesecake recipe for decades (originally taken from an Estonian recipe website called Nami-Nami). It has three layers to make it quite decadent. The base can be made with 125g gluten-free Digestive biscuits (approx. 8 biscuits), or bare with, a slightly more interesting and healthier base, see the recipe for a healthier cheesecake recipe below. The soft cheese filling is topped with a sour cream layer and overall, the cake requires very minimal baking time.
Healthier Manhattan cheesecake
Course: Gluten free cakesCuisine: AmericanDifficulty: Medium8
servings20
minutes40
minutes360
kcal20
minutesThis celebratory Manhattan cheesecake has three layers, the traditional digestive biscuit base is substituted with a nut base to make a slightly healthier cheesecake.
Ingredients
- The base
100 g almonds, processed to rough pieces to resemble crushed biscuits
25 g gluten-free oats, processed to rough pieces
50 g unsalted butter, melted
- The filling
400 g Philadelphia (or another brand that’s a bit thicker) soft cheese
75 g brown sugar
2 eggs
0.5 tsp vanilla extract
- The top layer
250 g sour cream
2 tbsp brown sugar
0.5 tsp vanilla extract
Directions
- Mix the base ingredients in a bowl.
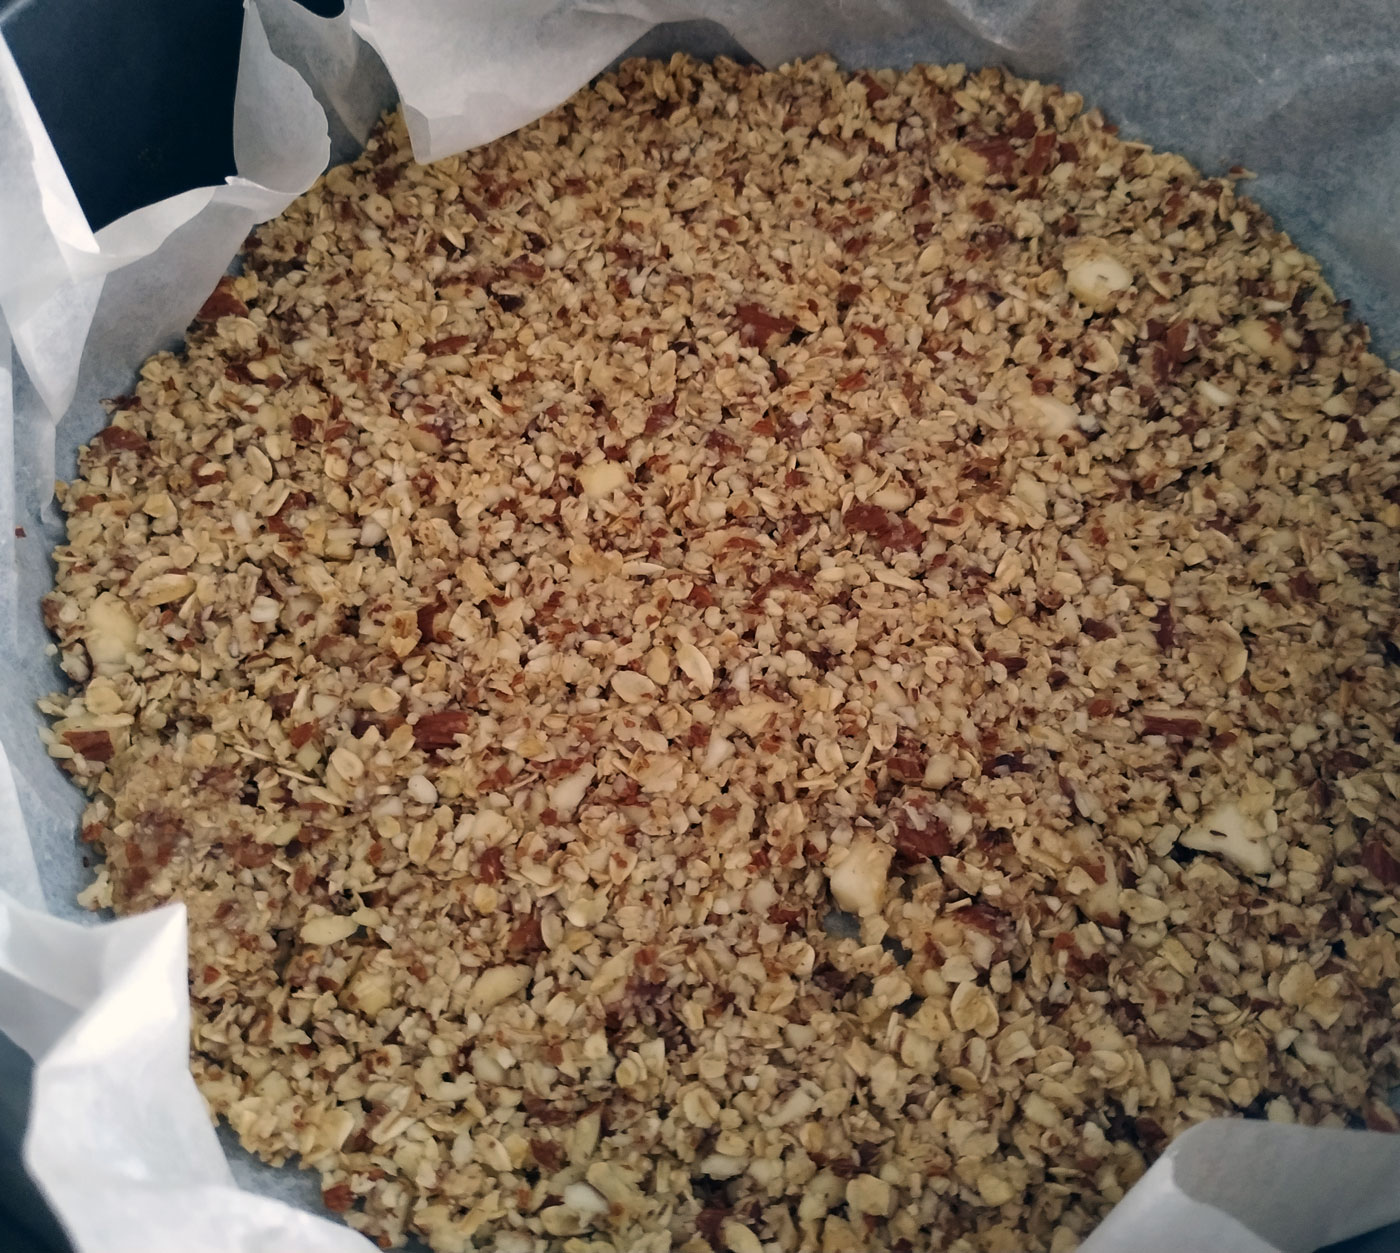
- Push the mix onto the bottom of a springform cake tin that’s approximately 20-24cm wide (I don’t trust mine, so I use baking paper as well). Place it to the fridge to rest. It will look like on the image below:
- Pre-heat the oven to 180C/160C fan/gas 4. Mix all the filling ingredients in a separate bowl by hand or with an electric mixer if you wish. Pour the mix onto the base and bake in the oven for 30 minutes. After that, it needs to cool down at room temperature for approximately 20 minutes.
- Mix the top layer ingredients (you can use the same bowl as for the filling for saving purposes). Turn up the heat to 230C/210C fan/8 gas. Once the oven has reached the desired temperature, carefully pour the sour cream mix onto the cake. Bake for 5-7 minutes.
- Let the cake cool completely before decorating and serving.
Please use the hashtag #TheNonGlutenOne if you make this recipe so I can re-share the love. And do let me know if there’s anything wrong with this recipe. Use my contact page or email me info@thenonglutenone.com.

